Proxmox - Setup
Proxmox#
Setup:
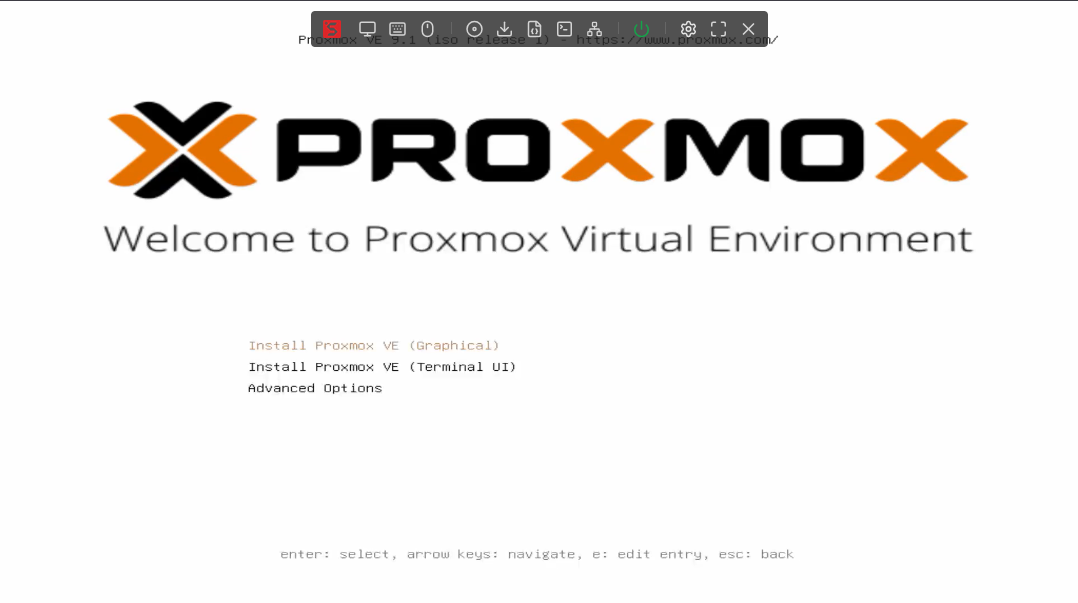
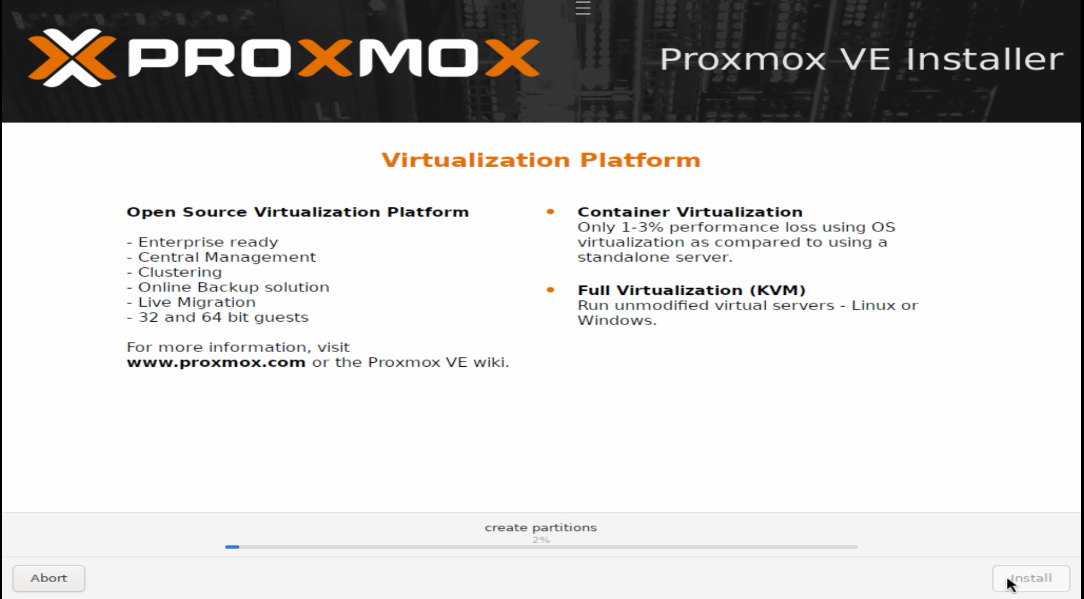
1. Click on Install Proxmox VE (Graphical):
- If you get a Gray blank screen then restart the go to Previous screen (step 1) and press ‘E’ to edit:
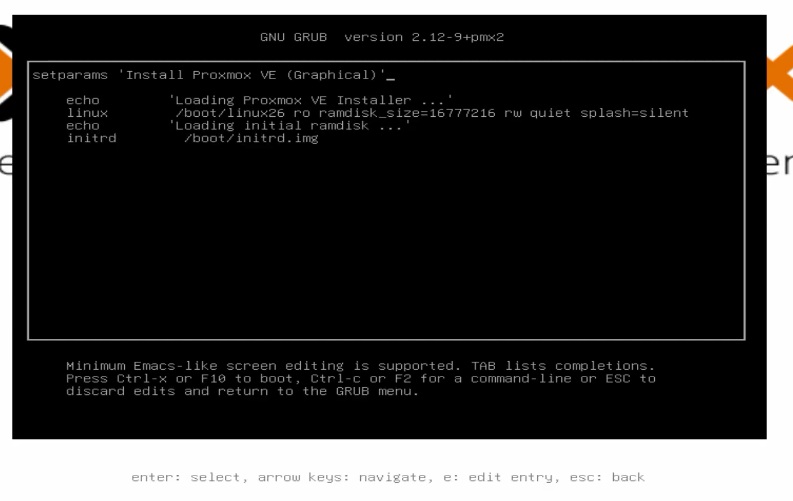
- In the Edit menu go to ’linux’ line type: ’nomodeset’ at the end:
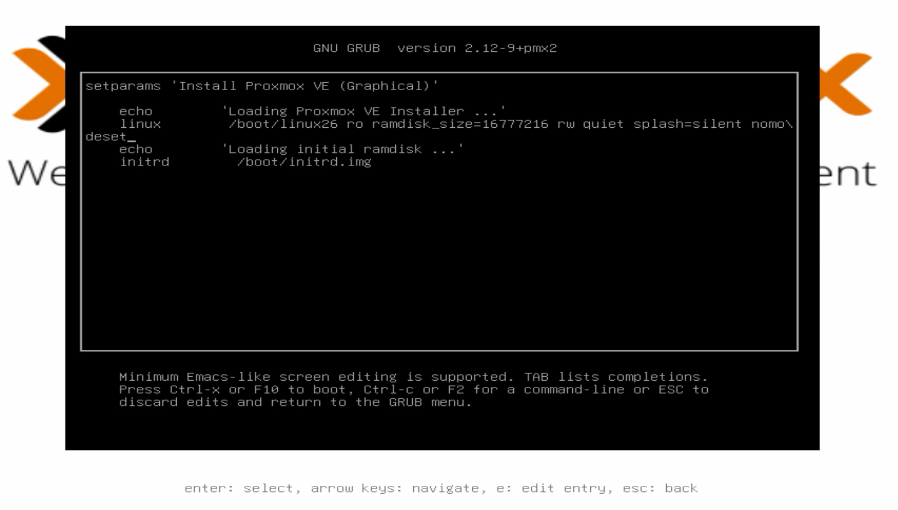
- Press ‘ctrl x’ to save and proceed
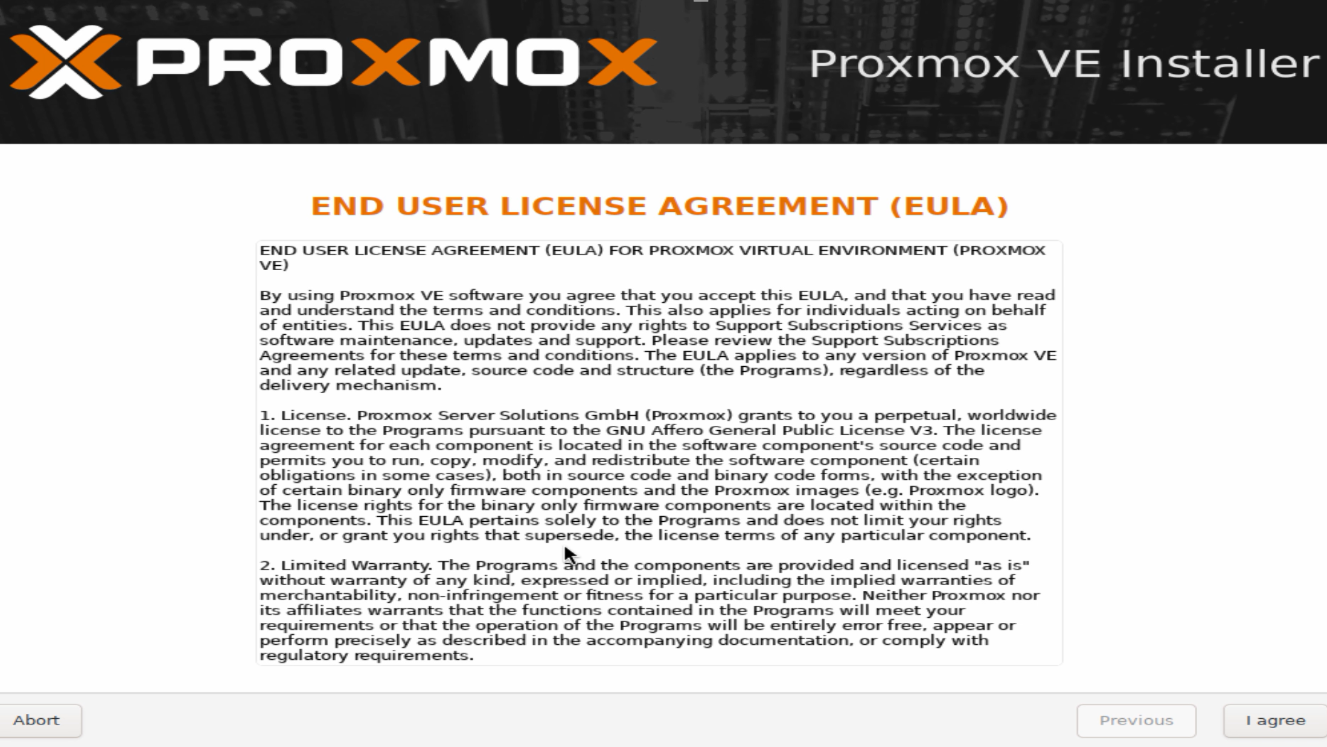
- Accept the license
OR
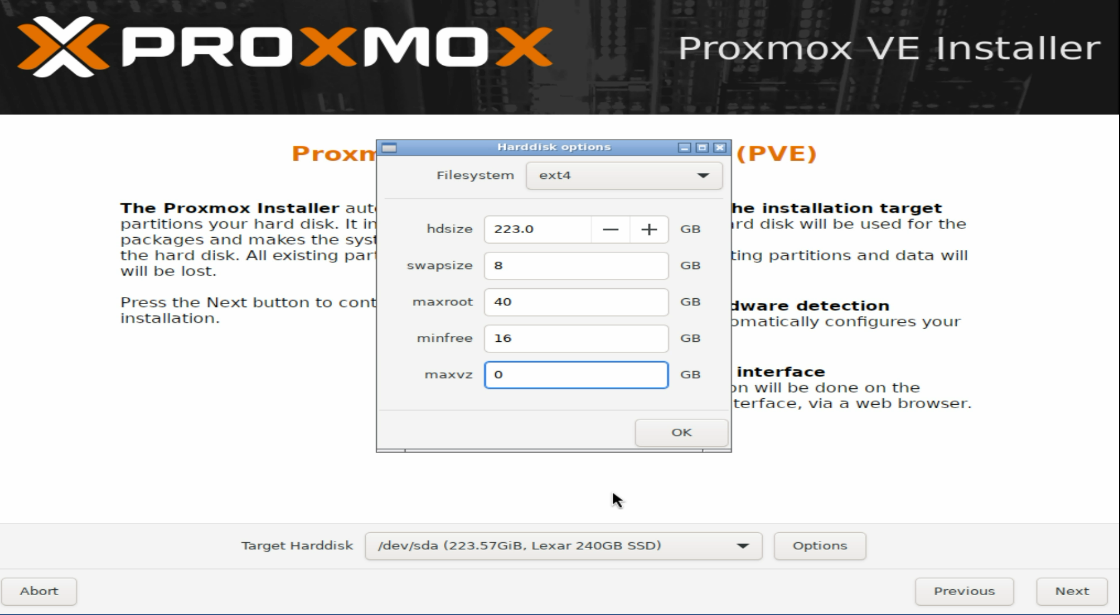
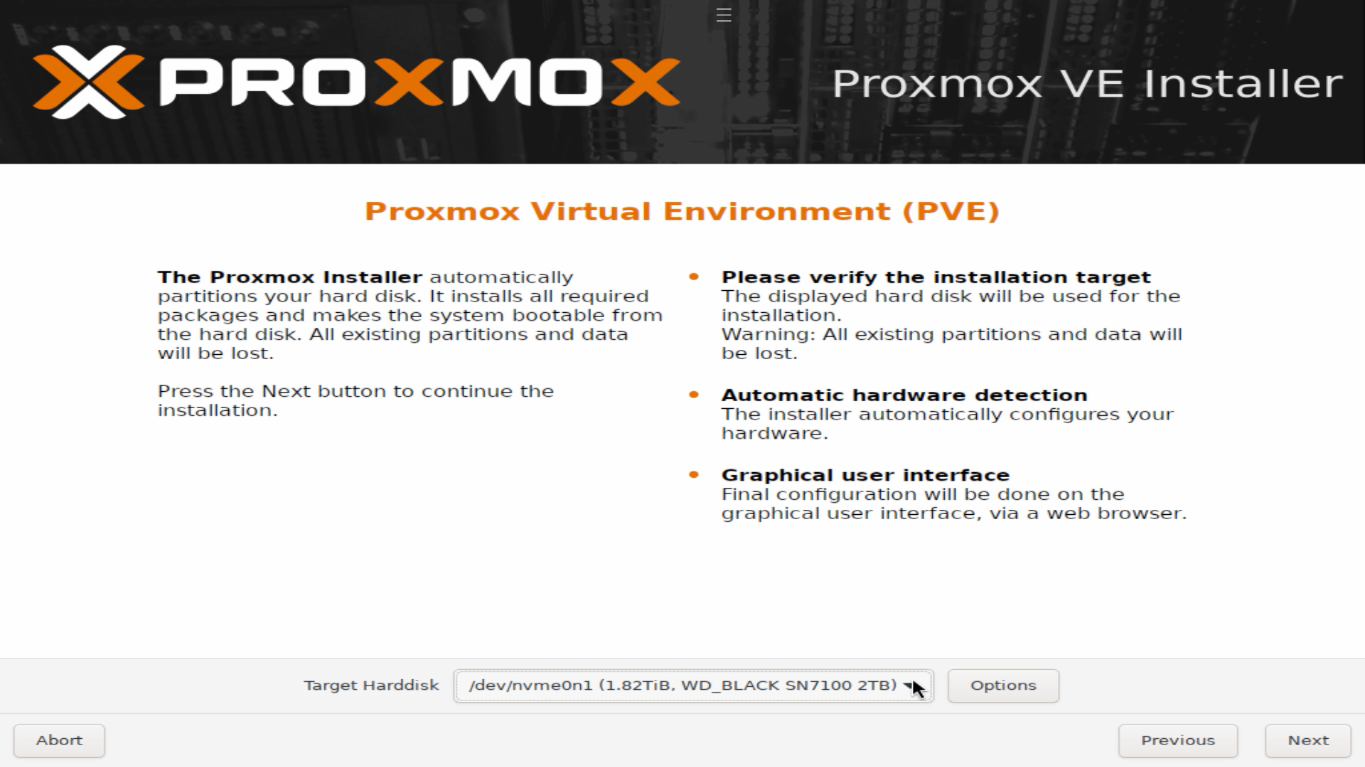
- Select the drive (note: since it’s a bare metal install you can’t create partitions, you will have to use the entire drive, any data on the drive will be lost)
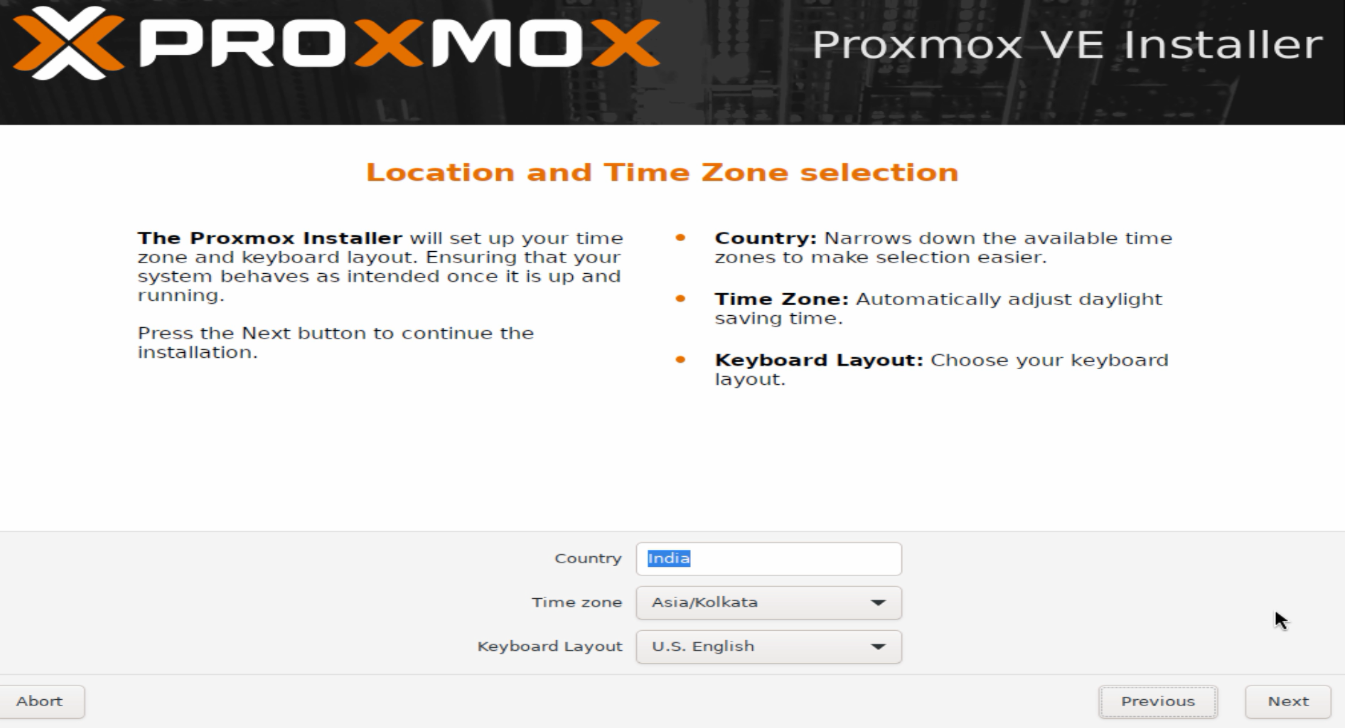
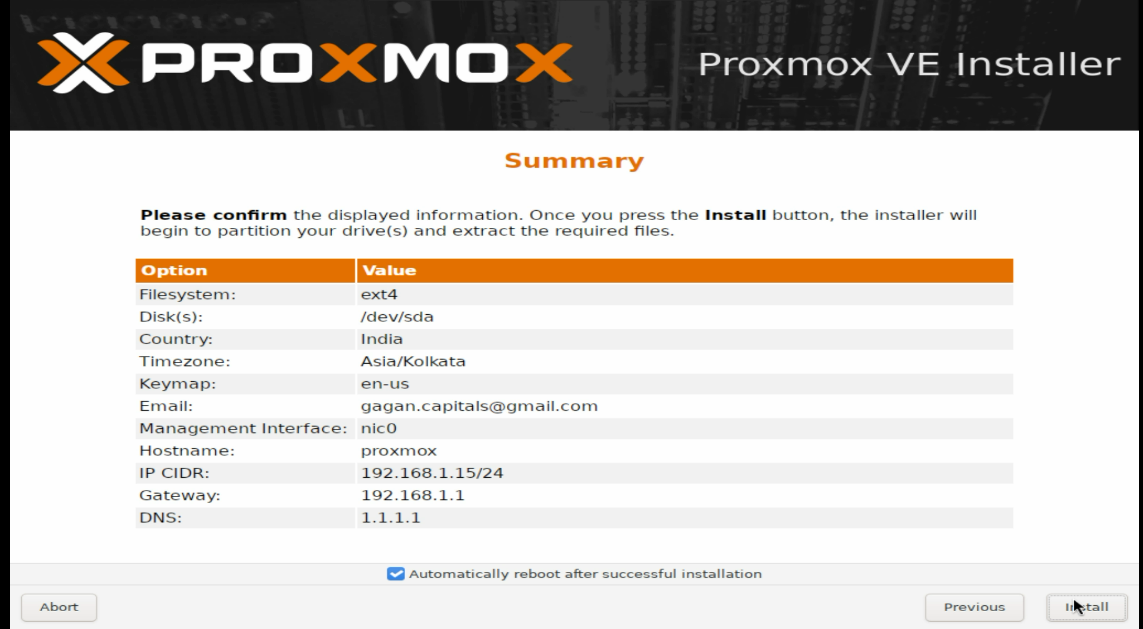
- Select the location and the Time zone
-
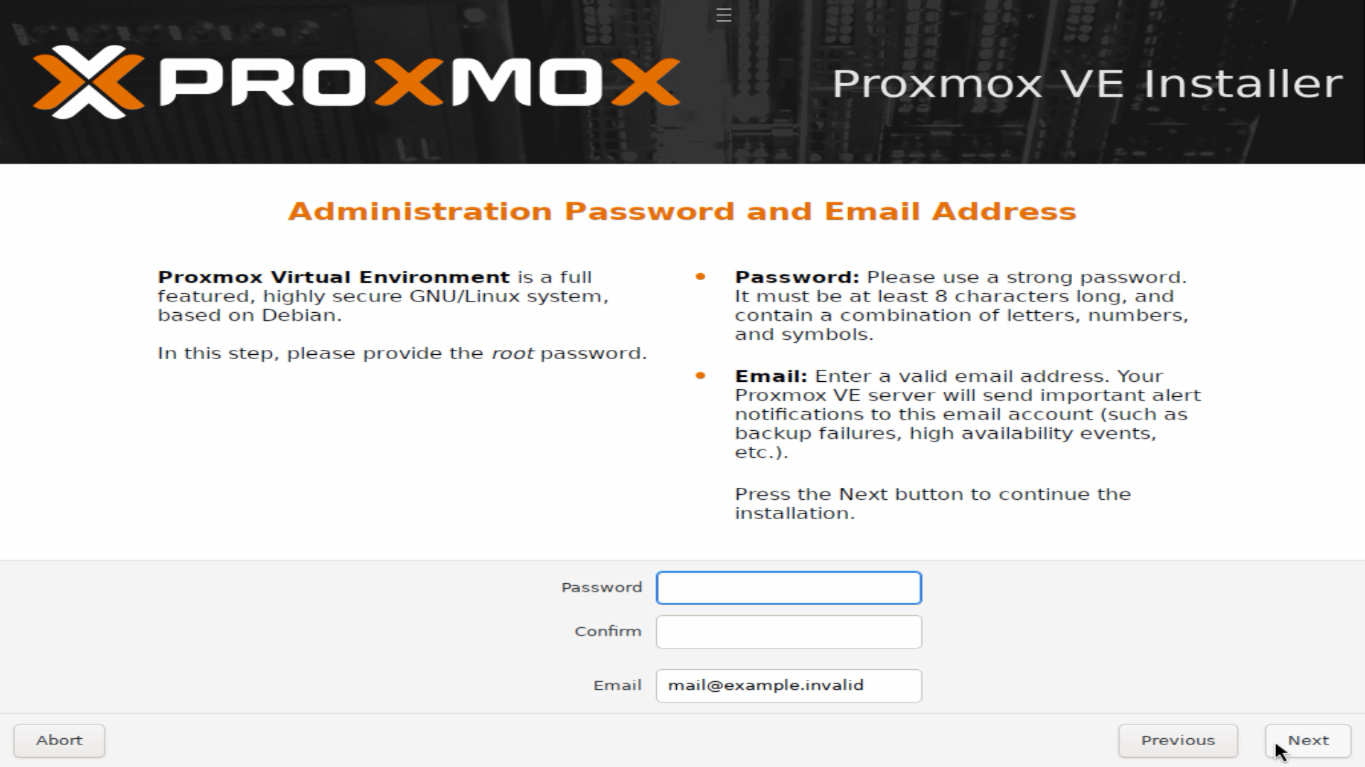
Setup an email and password - important: use the email that you have access to, because it will be used to get notifications, alerts from the machine.
-
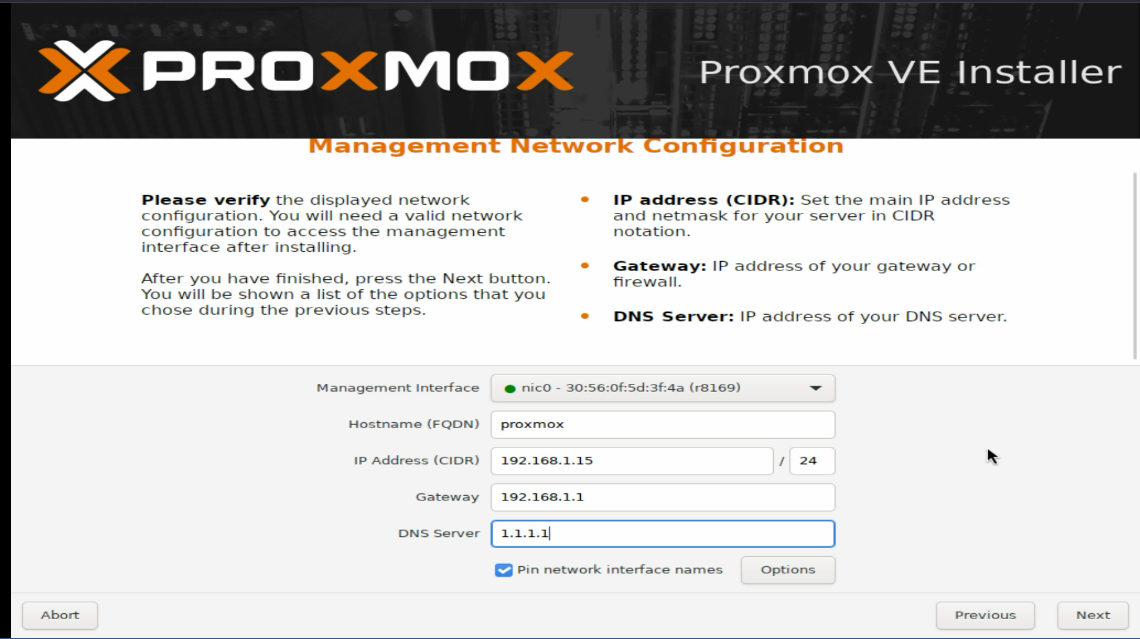
Enter your network details
-
Choose a static IP
-
Set the Default Gateway
-
Set DNS
- Final Screen:
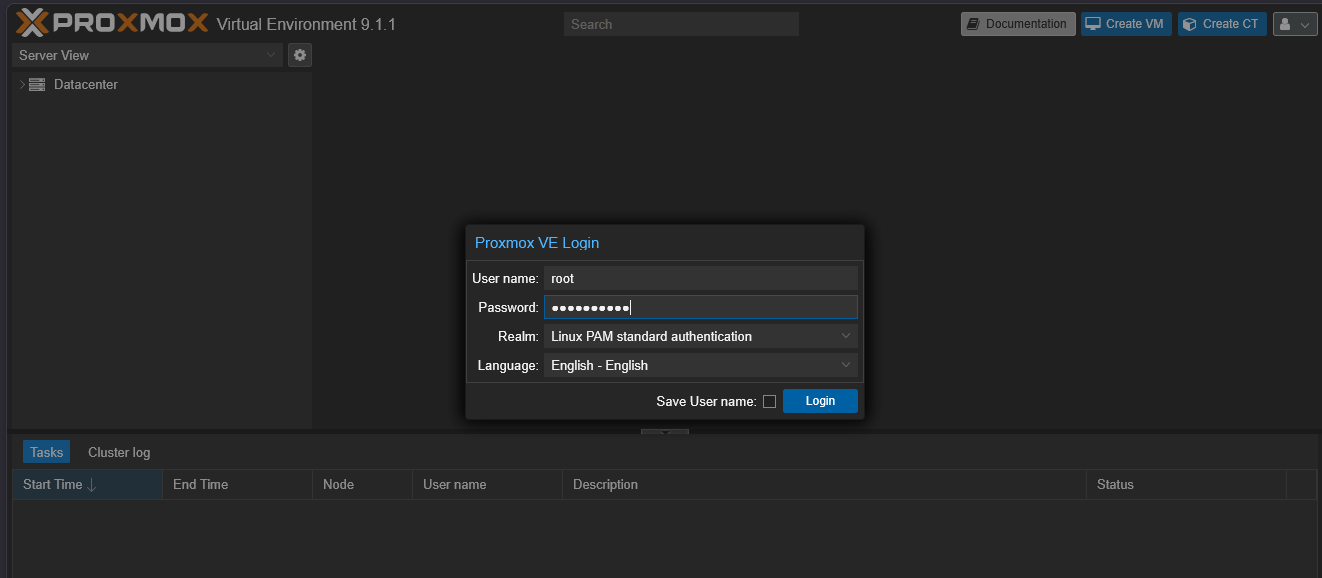
- The default Username is always ‘root’ and auth type is Linux PAM standard authentication:
- When we first starts Proxmox, you may see two drives, this is to ensure it can take efficient snapshots.
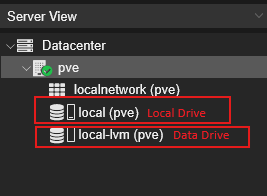
By default, the Local drive [Local (pve)] will have less storage when compared to the Data drive [Local-lvm (pve)].
-
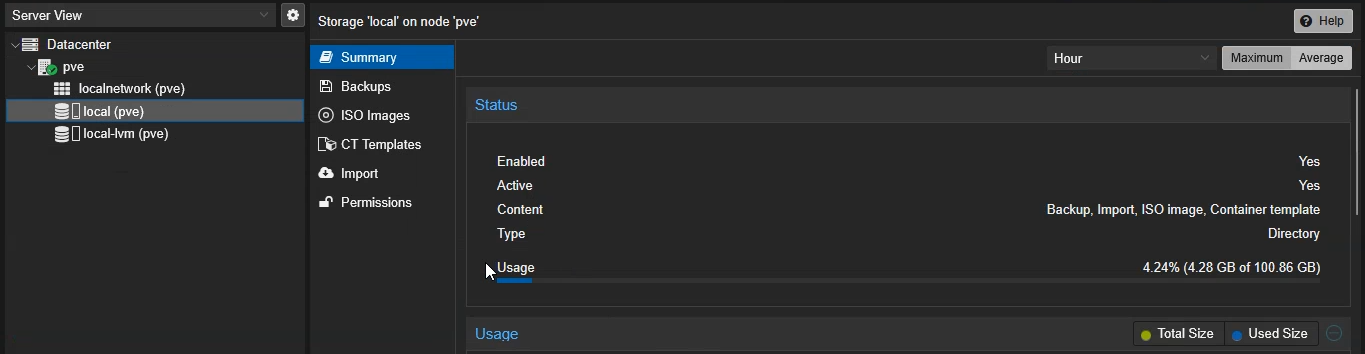
local (pve): This is the directory storage where the Proxmox operating system itself lives. It is primarily used to store ISO images (for installing OS), Backup files, and Container templates.
-
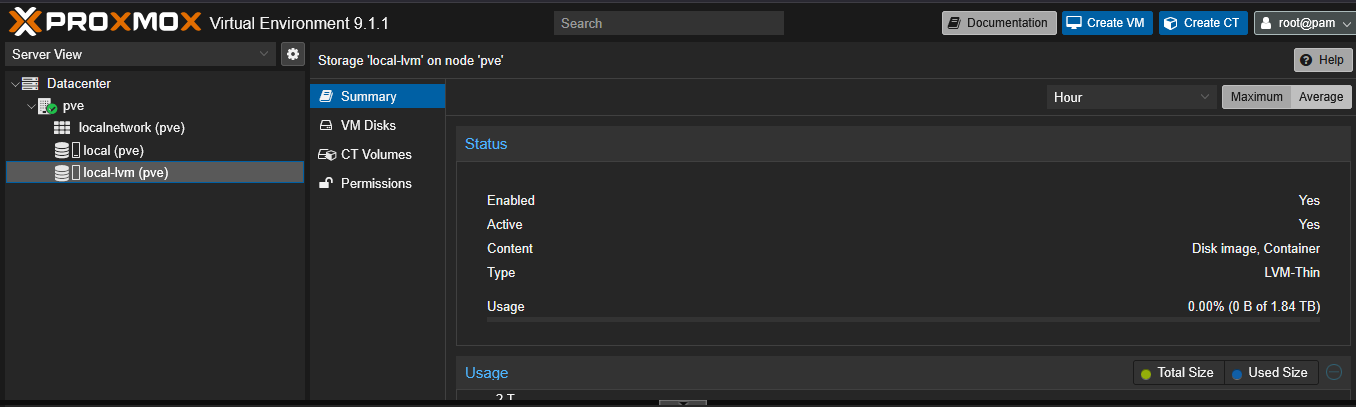
local-lvm (pve): This is a high-performance “Thin Pool” dedicated entirely to your Virtual Machines (VMs) and LXC Containers.
OR
If you chose the maxroot = 40GB at Step 5 then you will need to extend the drive to use the entire drive:
lvextend -l +100%FREE /dev/pve/root
resize2fs /dev/pve/root
Resize the Drives:
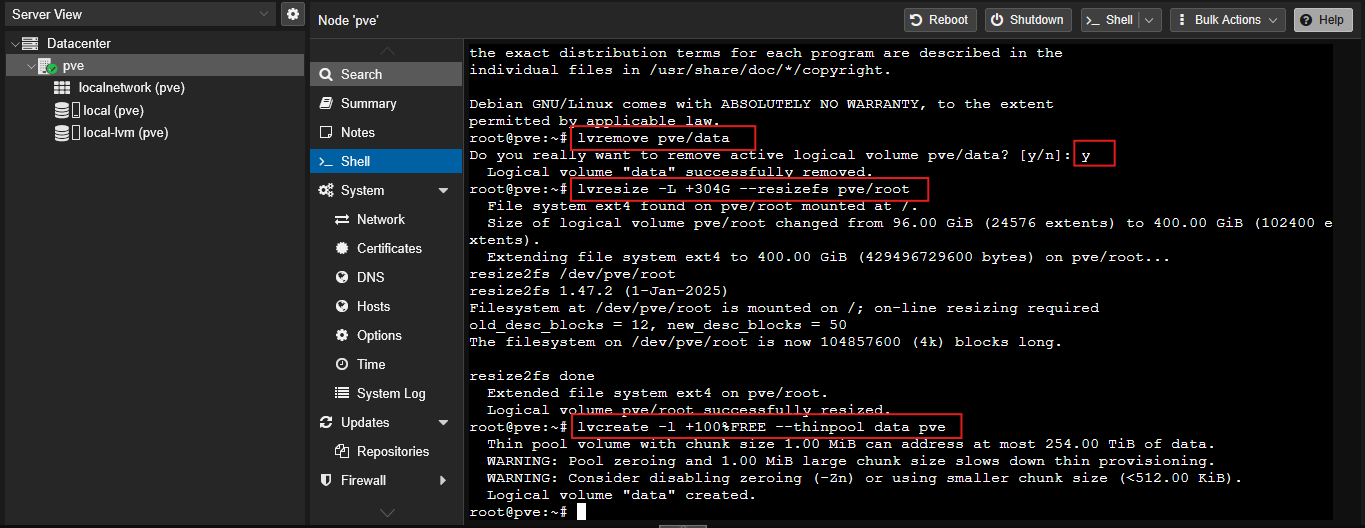
To ensure our Local Storage has enough space (local), first we need to shrink the Data drive (local-lvm i.e., data):
- For this open Shell. Click on pve and choose Shell
Type the below command to remove the data drive:
lvremove pve/data
Once done type the following to resize the local drive:
lvresize -L +304G –resizefs pve/root
Now to recreate the ’local-lvm’ (data) pool, type:
lvcreate -l +100%FREE –thinpool data pve
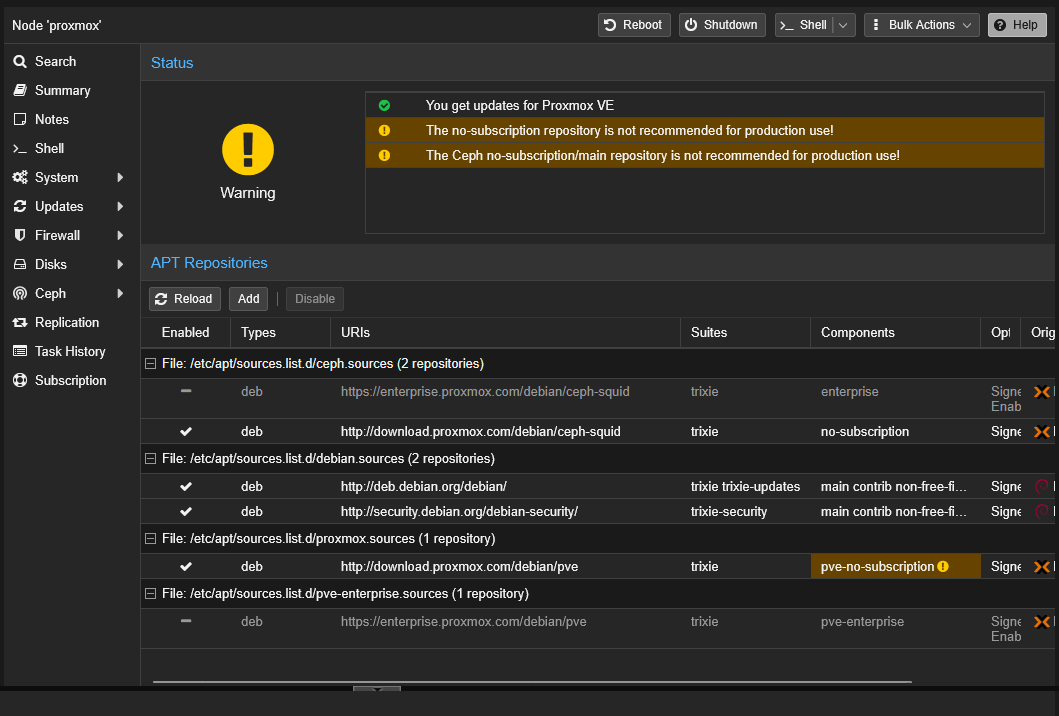
- Disable Enterprise repos and enable free repos: